How I Learned to Propagate Live Moss
When I first started trying to grow moss at home, I thought it was just about keeping it damp and waiting. Turns out, it’s not that simple. After a few failed attempts (and some science reading), I finally figured out a system that works—whether you’re just greening up a terrarium or planning something bigger. Here’s the approach I now swear by, with tips you can copy straight away.
What “Success” Looks Like
Well, everyone's desired area will be slightly different, whether it's your patio, your biotope, your reptile tank, or even the mulch under your orchids. But we need to set our own criteria for whether our moss project is effective. My criteria is: after 8–12 weeks:
- At least 70% of the surface should be green and continuous.
- There shouldn't be many, if any, tiny spots of mold.
- If you look closely, you should be able to see new moss tips emerging.
If you can manage to check once a week, that's enough—you'll notice the green slowly spreading, which is very reassuring.
↑ Back to topChoosing a propagation method
I've tried the chop method, the clump method, and the moss "milkshake" method, and I think each method has its pros and cons.
The chop method ("chop") involves cutting the moss into small pieces and then spreading them. This is the cheapest method and is particularly suitable for feathery mosses, such as gray moss or large feather moss. I also propagate the mosses I sell this way, but it takes a while to grow.
The clump method is simpler; you simply buy a piece of moss and place it where you need to propagate. If you're not sure what type of moss you currently have, feel free to leave me a message.
Finally, I've tried the moss "milkshake" method, which involves mixing moss with buttermilk or beer. Honestly, it's quite a hassle, but if you need your moss to grow in cracks or crevices, I think it's a great idea. I prefer the chop method, followed by a good spray.

My Step-by-Step Fragment Routine
Okay, since the chopping method works best, let's look at the steps.
I start by tearing the moss into small pieces, 1-5 mm in diameter, depending on the area you need to grow (some studies suggest that medium-sized moss works best).
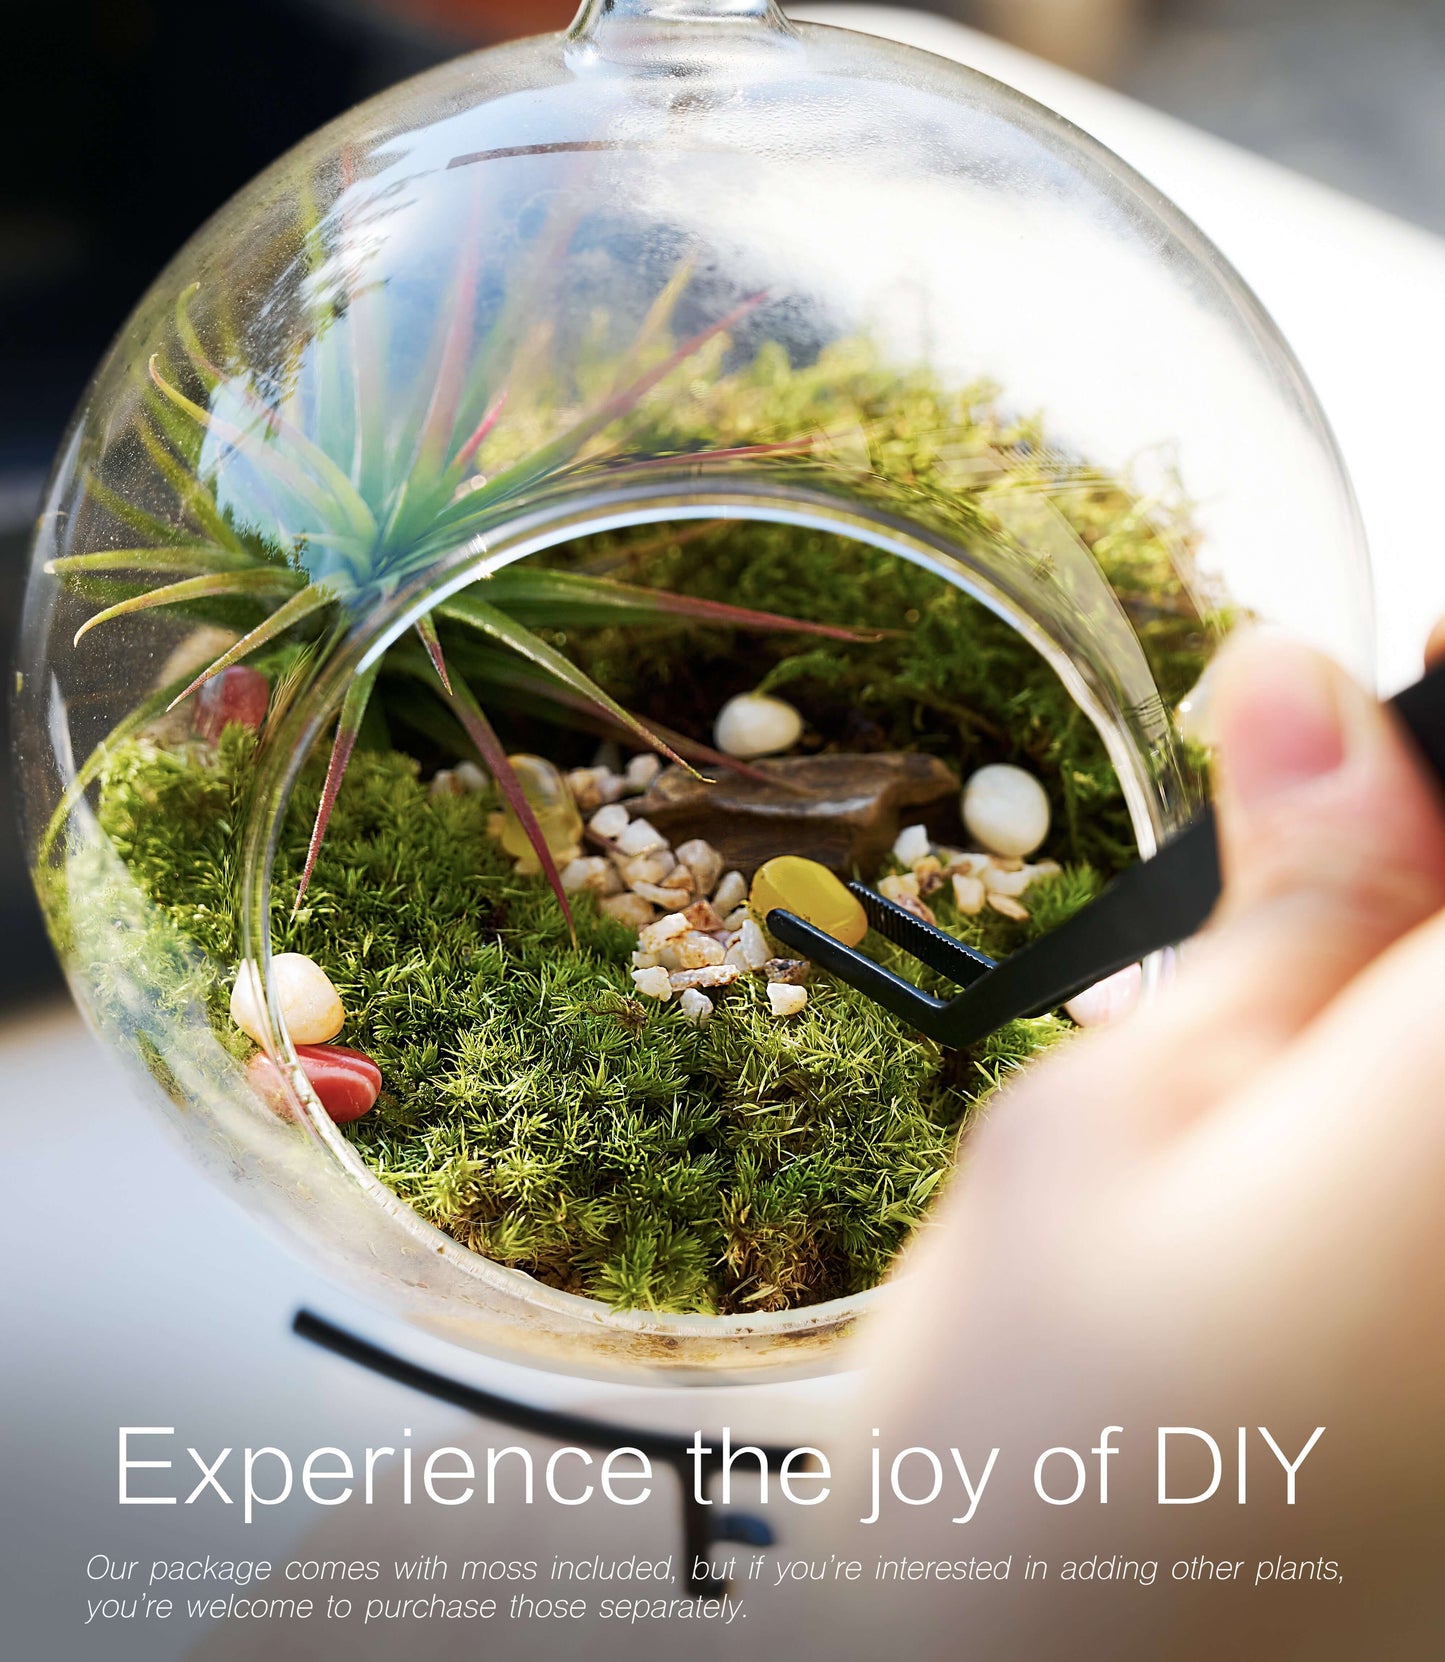
Then, you need to evenly spread the moss onto your chosen substrate (volcanic rock, peat pellets, or even soil), gently pressing it down so that each piece of moss is in contact with the substrate. Contact is crucial.
After pressing, I spray the moss with water until it becomes slightly shiny and begins to aerate properly. By the way, if you see the moss curling up, it's time to spray it again.
After spraying, place the moss near a north-facing window, perhaps under a low-intensity grow light, for 8-10 hours. This way, the moss won't be exposed to direct sunlight, which is beneficial for growth. Remember to avoid direct sunlight.
Finally, use clean tools and remove any dead moss immediately to prevent mold.

Observe the Timeline
After completing the previous steps, you should see the following over the next few weeks:
- Week 1: Tiny green filaments appear (called protonema—they look like tiny algae, but are actually the beginnings of moss).
- Weeks 2–4: New shoots emerge. You'll notice the actual "moss fronds."
- Weeks 8–12: All the plants begin to merge into a pleasing green carpet.
Interestingly, I read in a report on a desert moss experiment that researchers found that moss fragments sprouted in as little as 4–7 days. At home, I've generally found the timeline to be slower. I don't know if it's due to the lab environment, but the growth pattern remains consistent.
Tips for Large Projects
If you're covering a large area, like your backyard, I recommend not wasting money on shoveling and resurfacing. I'd only place large pieces of moss where there are any holes, then use the shredded moss method to fill in the rest. Over time, they'll blend in.
Also, if you're planning to pave your patio, timing is crucial: moss generally grows better in cool, moist months. I previously read a study showing that moss shreds grow faster in the winter and slower in the hot summer, which aligns with my own findings with moss cultivation.
↑ Back to topSpecial Details to Note
- Always use clean water (rainwater, distilled water, or reverse osmosis). Because some tap water contains a lot of minerals, it may leave a white residue, but don't worry if this occurs.
- Avoid direct sunlight.
- In a glass container, ensure adequate ventilation; humid air can cause mold.
By the way, if you buy moss (like the ones in my store) because it's dried, it may be a little brown. Don't worry; it will return to normal after 48 hours of restoring.
↑ Back to topMoss Propagation Checklist
Okay, let's review the moss propagation process. I've made a checklist.
- ✅ Week 0: Water, chop, sow, compact, and mist.
- ✅ Week 1: Check for fine green hairs. Remove any moldy spots.
- ✅ Weeks 2–4: Count the new shoots that appear.
- ✅ Weeks 8–12: Aim for 70% green cover. Fill in gaps as needed.
That's it. Simple steps, steady pace. Once you see the results, you'll be hooked. I can't wait to see your "green garden.

Conclusion
Caring for moss isn’t about luck—it’s about rhythm. Once you find the balance of water, air, and light, it becomes second nature. And when your moss finally turns into a soft, green carpet, it feels like having a tiny forest of your own. 🌿
↑ Back to topFrequently Asked Questions
How long does it take to get a lush, connected moss carpet?
With consistent care, most home setups reach about 70% green, continuous coverage in 8–12 weeks. You should also see new shoot tips and only minimal mold spots if any.
What’s the most cost-effective way to propagate moss at home?
Fragment ("chop") propagation is usually the lowest cost per area. Chop moss into small pieces, spread evenly, press for contact, then follow a steady mist–vent–light rhythm.
What size fragments work best?
Aim for mixed chips about 1–5 mm and keep some shoot tips in the mix. Medium fragments often establish faster, but results can vary by species.
How often should I mist and ventilate?
Mist until the surface gently glistens, then ventilate for several minutes. Use leaf posture as your cue: curled leaves—mist; open leaves—pause. Weekly checks are usually enough.
What kind of light does moss need?
Bright, indirect light or a weak to moderate LED for 8–10 hours a day. Avoid direct sun and heat spikes to reduce stress and algae growth.
Which water should I use for misting?
Use rain, RO, or distilled water to avoid mineral residue—especially in glass containers. Some tap water can leave white films on glass and leaves.
How do I prevent or handle mold?
Sanitize tools, remove debris promptly, avoid stagnant, saturated air, and ventilate after misting. If you spot mold, remove the affected bits and increase airflow.
Does the moss ‘milkshake’ method work?
It can work in specific cases like cracks or crevices, but it’s messy and inconsistent. Many growers prefer simple fragments plus firm pressing and regular misting.
What changes for large areas or outdoor installs?
Use patches only in focal spots and fill the rest with fragments to control cost. Cooler, wetter months generally improve establishment; hot summers slow growth.
Any tips for terrariums and glass containers?
Provide bright, indirect light and periodic venting. Avoid permanently saturated air to reduce mold risk. Use low-mineral water to keep glass clear.
Which substrates are suitable for fragment sowing?
Evenly pressed fragments can establish on clean, inert or lightly organic bases such as lava rock, peat pellets, or a simple soil blend—good surface contact is critical.
How can I tell if my project is on track?
Track weekly: approximate green coverage, new shoot tips in a small area (e.g., 10 cm²), mold incidence, and a simple misting log. Aim for ~70% continuous coverage by weeks 8–12.
Collections
-

Buy Live Sheet Moss – Fresh Moss for Terrariums, Orchids & Home Decor
Bring nature into your home with our fresh Live Sheet Moss. Perfect...
-

Buy Live Cushion Moss – Natural Dome Moss for Terrariums, Bonsai & Indoor Décor
Bring a lush, soft green touch to your projects with Live Cushion...
-

Buy Live Fern Moss – Lush Green Moss for Terrariums, Vivariums & Natural Décor
Fern Moss is a vibrant, feathery-textured moss that adds softness and a...


ICRAFT
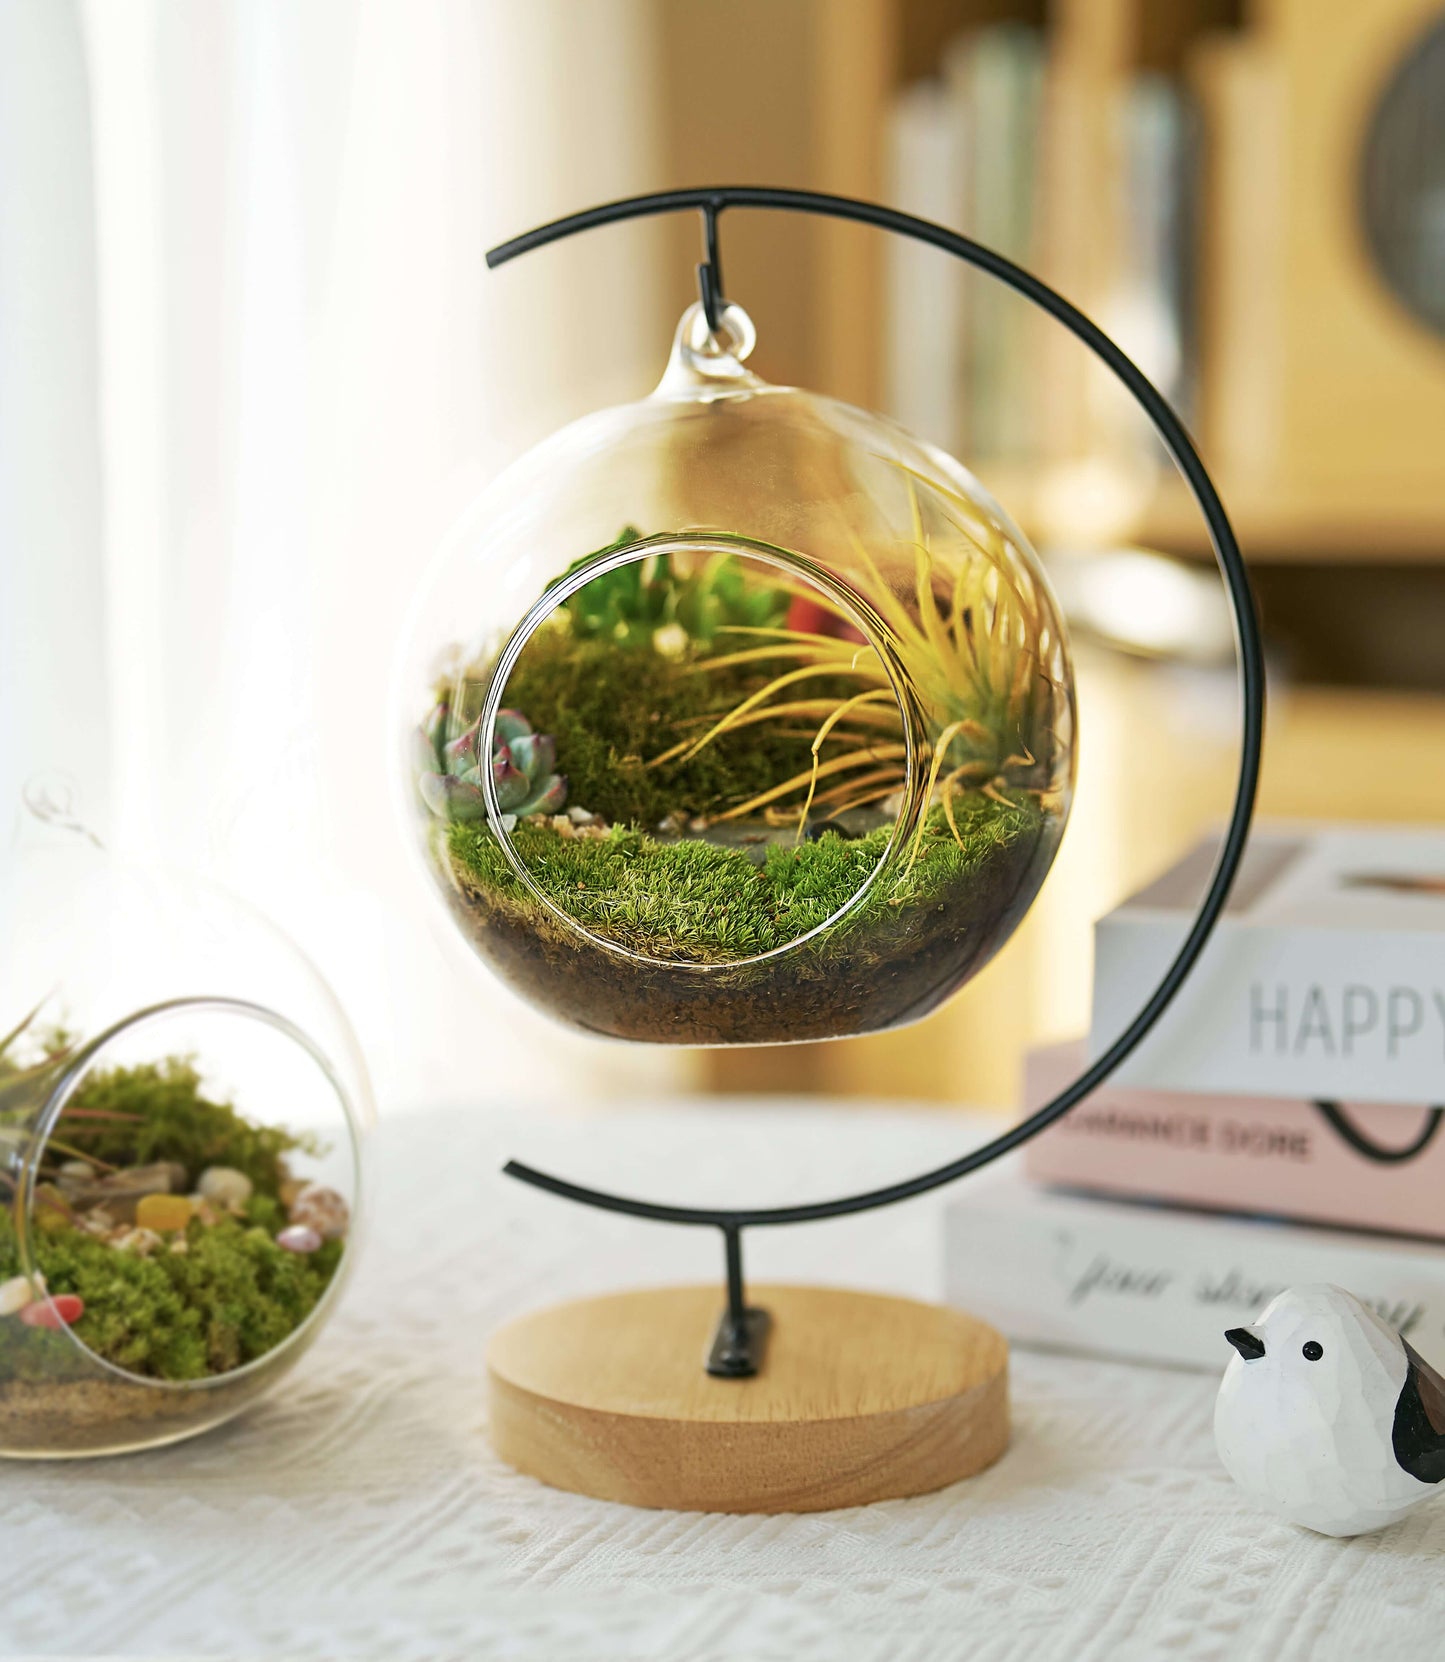
15-Piece Terrarium Kit with Live Moss – DIY Glass Globe Set with Tools, Soil, Stones & Spray Bottle – Indoor Mini Garden Gift for Plant Lovers, Home Decor & Zen Craft