How to Grow Orchids with Moss – The Right Mulching Method Explained
Many growers press moss in firmly to “hold moisture” or “keep roots stable.” In reality, tightly packed moss traps water, blocks airflow, and can suffocate orchid roots. This guide shows how loose, springy, well-ventilated live moss for orchids delivers stable humidity without rot—plus step-by-step tips, watering signals, and setup ideas for different orchid types.
Why “tightly packed” moss backfires
- Roots need air, not just water. Over-compressed moss collapses air pockets. Oxygen drops, roots blacken and slip, and rot follows.
- Water lingers too long. A dense sponge stays wet in the core, inviting fungus while the surface looks fine.
- Uneven wet/dry. Outer rim dries fast, inner core stays soggy → you water again and worsen the “wet core.”
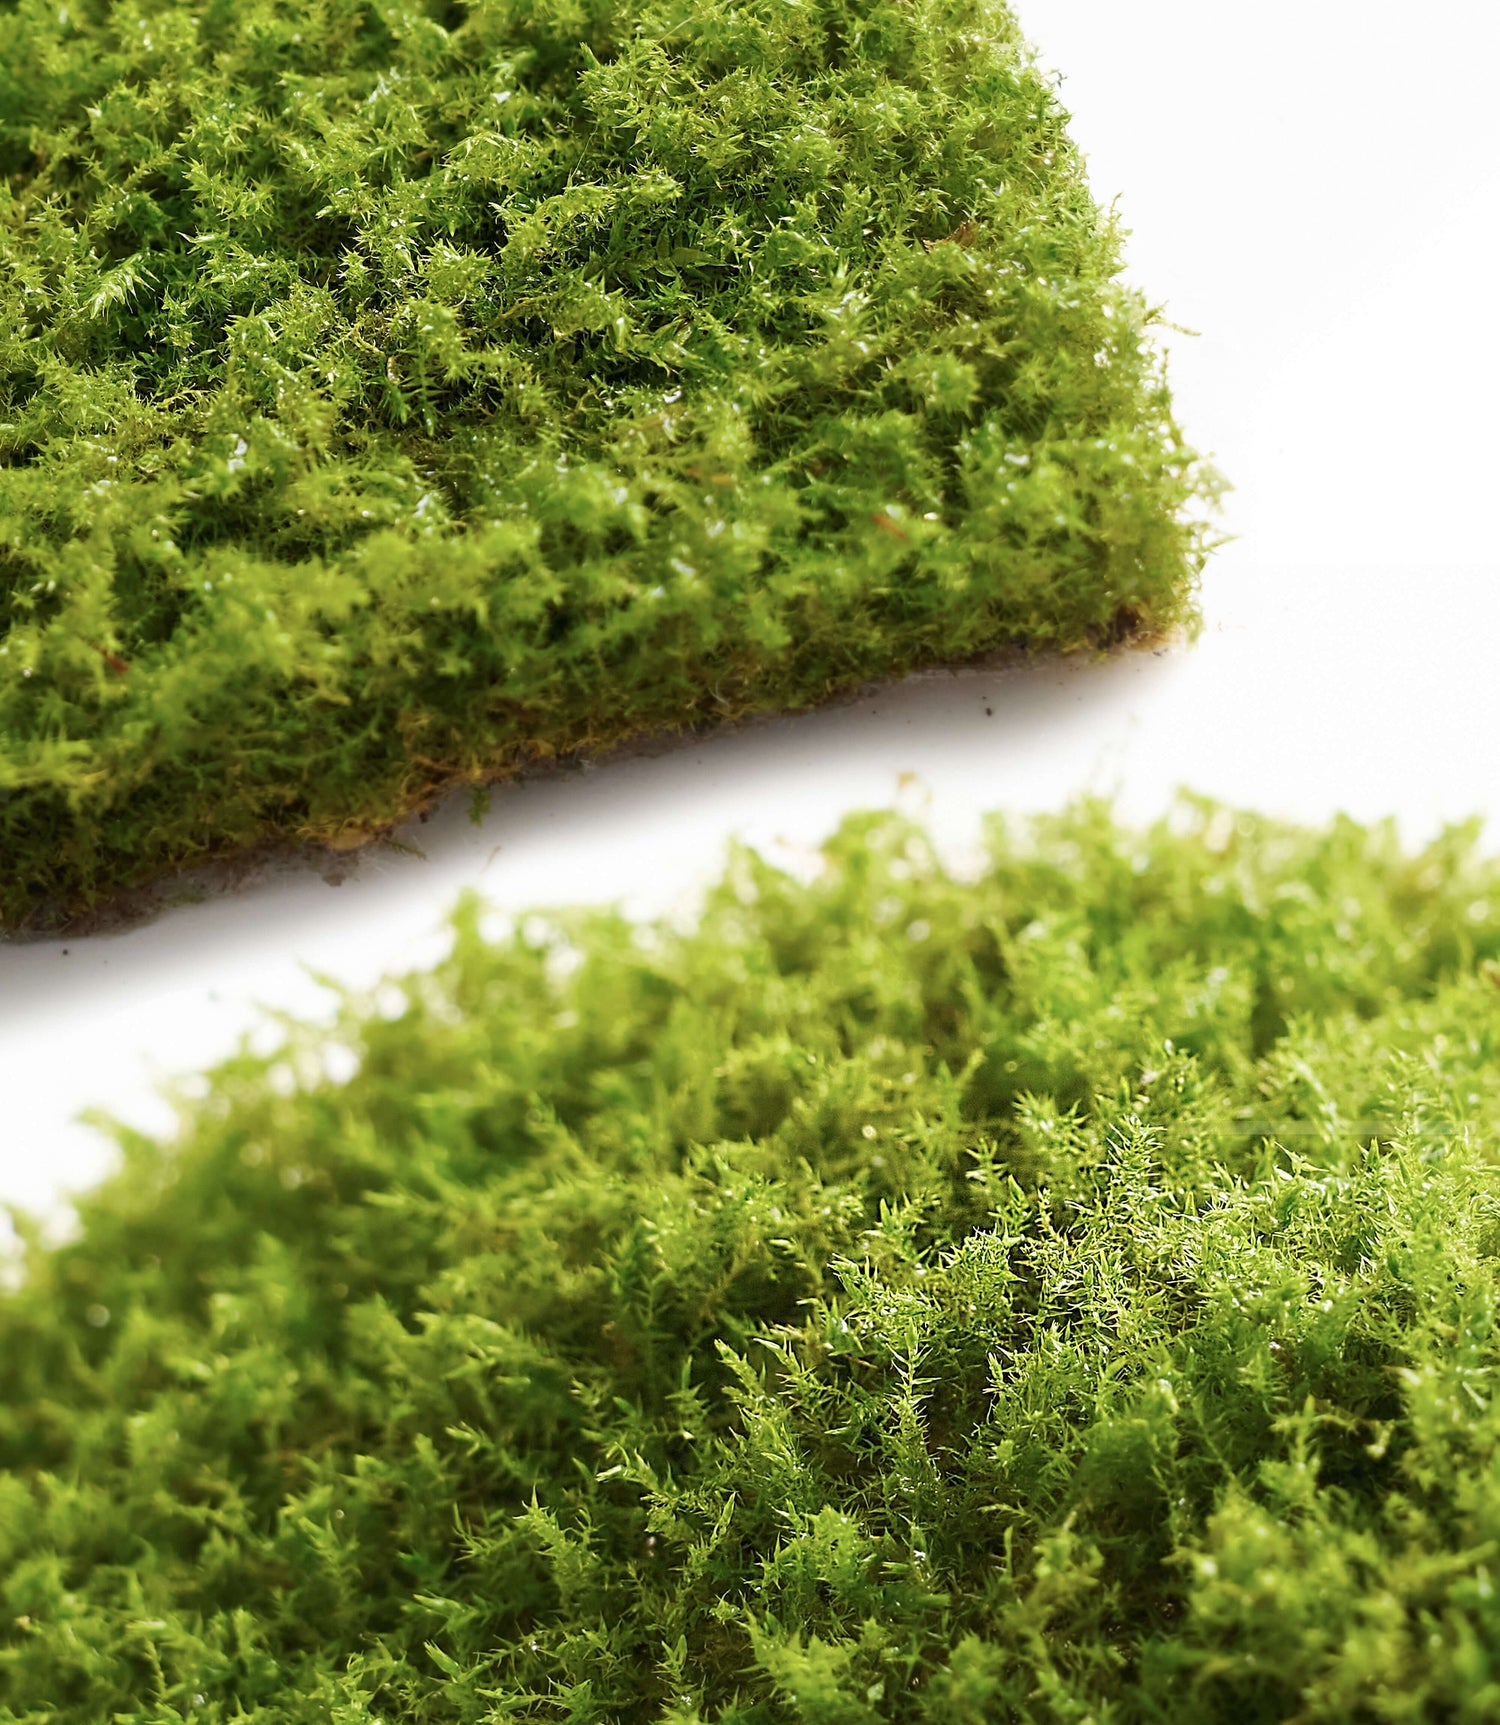
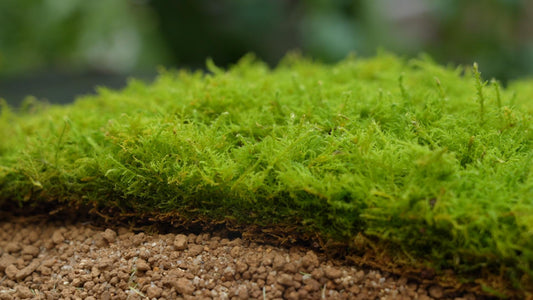
The right texture: loose, fluffy, breathable
- Moisten, then squeeze to “damp, not dripping.” Tufts should bounce back when pressed.
- Wrap lightly. If you use a root wrap, keep it ~1 cm thick and loose; never pack into a hard plug.
- Create air paths. Use fingers or tweezers to leave tiny gaps around the root zone.
- Choose breathable pots. Clay, baskets, or slotted/clear orchid pots beat sealed glass.
-
Water by signals, not by calendar. Moss pale/firm → water; soft/green and cool to the touch → wait.

How much moss for different orchid types?
- Phalaenopsis, Oncidium (home growers): Thin top-dress (about 1 cm), keep crown area clear for airflow.
- Cymbidium & other terrestrials: Bark-forward mix; add a small portion of live moss for humidity buffering.
- Mounted orchids (Neofinetia, Dendrobium): A light moss pad under roots helps between mists—but daily airflow is essential.
Quick setup (safe default)
- Rinse moss and squeeze to damp. Fluff it so it’s springy.
- Pot in airy media (bark/perlite). Add a thin, loose live-moss layer on top—don’t bury crowns or pseudobulbs.
- Water thoroughly, let it drain, then ventilate 10–15 minutes.
- Place in bright, indirect light. Increase light after the plant settles.

Bottom line
Tightly packed moss is worse for orchids because it trades humidity for oxygen. The winning combo is loose texture, steady airflow, and signal-based watering. Do this and you’ll keep roots plump, leaves glossy, and spikes coming.
FAQ — Tightly Packed Moss & Orchids
Is tightly packed moss ever a good idea for orchids?
Not for most home setups. Compression reduces air space and raises rot risk. Keep moss loose and airy so roots can breathe.
How loose is “loose” when wrapping roots?
Around 1 cm thick, fluffy, and springy—tufts should separate easily. If the wrap feels like a firm sponge, it’s too tight.
Can I use only live moss as the potting medium?
Possible but risky indoors. Most growers do better with bark-forward mixes plus a thin live-moss layer to buffer humidity.
How do I know when to water if moss is on top?
Use signals: moss looks lighter and feels spring-dry → water; still soft/green and cool → wait. Always drain freely and ventilate after watering.
What pot is safest if I use moss?
Clay, baskets, or slotted/clear orchid pots with strong drainage. Avoid sealed containers without airflow.
My moss keeps staying wet in the core—what should I change?
Reduce moss thickness, fluff it, switch to a more breathable pot, and increase post-watering airflow (10–15 minutes of ventilation).